
Find Your Place: The Best Neighborhoods in NYC
6 Min Read

Are your keys weighing you down? Too many keys can weigh heavy on your heart–and make you look way less cool than you actually are. So let's talk about how you can end up with as few keys as possible. First, think about how many keys you need. One key to get you into the front, back, side, and garage service door should do the trick. Do you drive a car with a traditional ignition? If so, the weight of too many keys may cause damage to your car. Whatever your reasons for ditching the heavy key chain, we totally agree when it comes to keys–less is MORE.
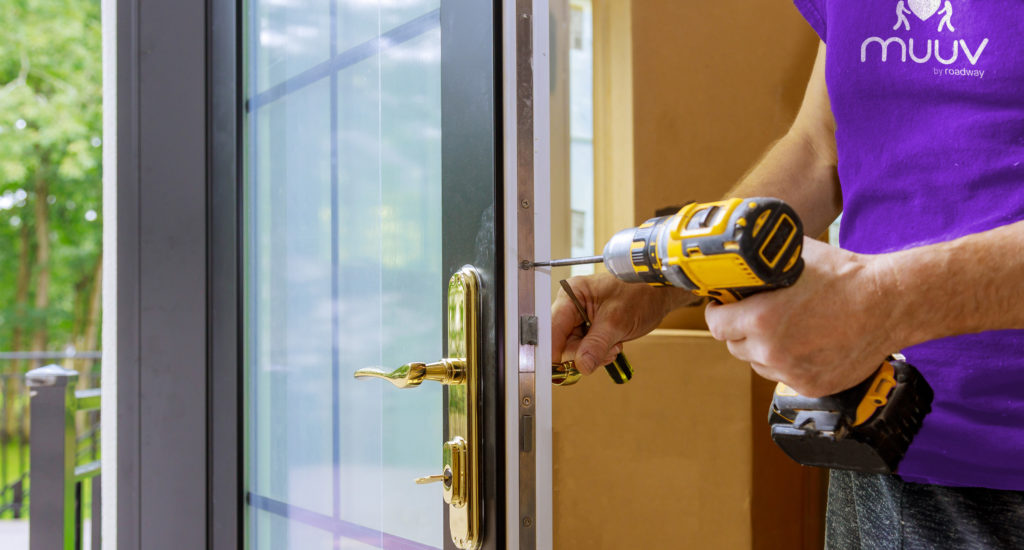
While choosing to hire a locksmith is one of the fastest and simplest ways to get your locks changed, another way to go is to hire a handyman provided by your moving company to help with changing the locks and other extras. But if you really want to go at it alone, there are a few ways to accomplish this goal.
One thing you may not have considered is purchasing rekeying kits. It's a pretty cheap and clever place to start. They don’t work in all door locks though. You could also change the lock on each entry door to locks with matching keys.
Changing the locks is a simple project that can save you time and money. Here is a video we thought might help you with making the decision to change the locks on your own or not.
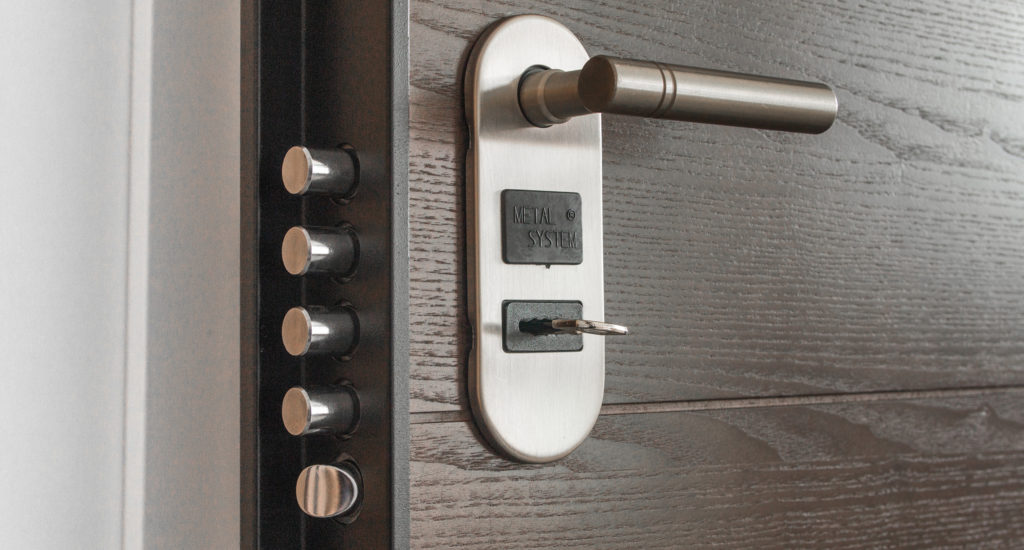
Your local home improvement store has a number of door locks you can choose from. The Yale Premier Single Cylinder YH82 is considered the best on the market, but make sure that you like the style. Your home is a reflection of your personal tastes, right down to the lock you choose. It may not be fair but it's true–people do judge books by their covers–and they may judge a home by the lock. Make sure your lock looks as good as you do! You can find good looking door locks at a reasonable price. If you have deadbolts at home, pick a set with a locking handle and a separate deadbolt lock.
Look closely to find a small sticker on the front or side of the lock’s package. Words like Keyed Alike, or Key Number will appear on the sticker. Note the letters and/or numbers and, on the shelf where you found the first one, find three more with the same numbers and letters on their stickers.
Another option is to look for multi-packs of locks that are keyed alike. Whatever you find, pick out enough sets of locks deadbolts for your new house.
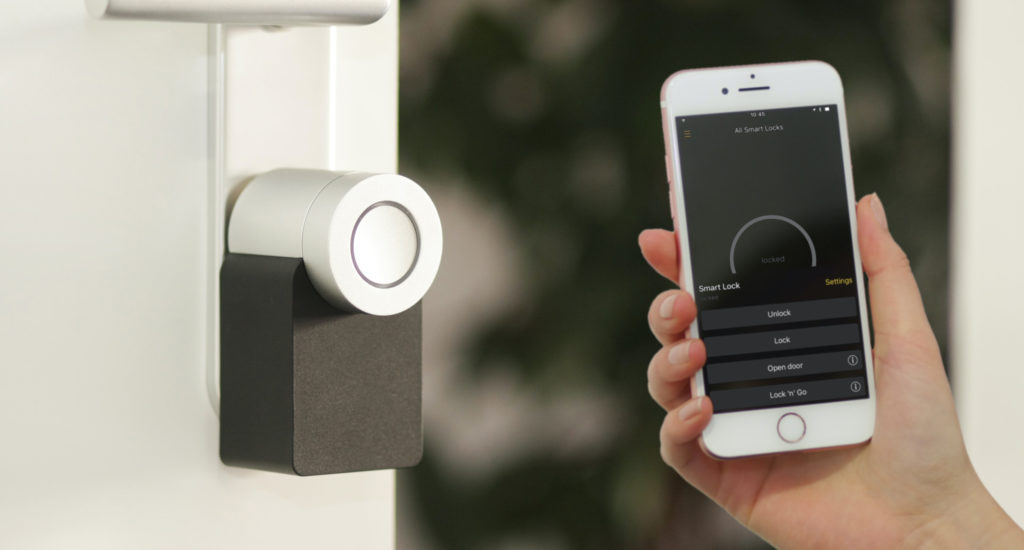
Some of the new lock sets include smart lock systems that connect to your smartphone. These models do more than lock doors, offering remote control, voice control, access logs, geofencing, and other smart features. Our favorite feature is the camera. It's an easy way to hide from peeps you don't want to see and welcome friends with open arms.
Okay, let’s talk about what you’ve purchased. Here’s a list of basic terms to know when dealing with door locks.
There may be more parts in your lock’s package than that. Nothing to worry about. Directions are included with the lock to let you know how those parts are used along with the instructions to follow here.
Almost every door lock on the market adjusts to two depths to accommodate the corresponding holes in different doors. The lock you purchased is already set to the most shallow depth. Let’s see if it fits.
There are generally three ways to adjust the depth of the latch assembly. You’ll only need one way, and it’ll depend on what brand of lock you bought. Start by removing the assembly from its hole in the door. The directions in the lock’s package can get you through this part, but these are the three ways to do it:
With the depth of the latch assembly set, screw it in place with the provided wood screws. Also, screw the strike plate into place in the door frame. Now for the tricky part:
That’s one lock done. Just a few more to replace. It gets way easier after you’ve done one. After this, you can enjoy having just one key that fits all of your entry door locks and deadbolts. For more safety tips, check out some of our other blogs.


